TFT positioning guide: the free LP nobody takes
Two identical boards can finish first and fifth. Positioning is the cheapest source of placement in the game because it costs nothing but attention.
Positioning is the only thing in TFT that is genuinely free. It costs no gold, no health, no tempo — just ten seconds of the planning phase that you were mostly spending watching the shop anyway. It is also, by a wide margin, the thing players skip most.
Reading the board
Your half is four rows of seven hexes. Row 4 is the frontline, closest to the enemy; row 1 is the backline, furthest from them. Combat starts with every unit walking toward the nearest enemy, so what happens in the first two seconds is almost entirely decided by who is standing where.
Three facts about the geometry that do most of the work:
- Corners are the furthest hexes from everything. A unit in the back corner takes longest to reach and is hardest to hit with a centred ability.
- The middle is the most reachable hex on the board. Which is why main tanks go there — you want them reached.
- Adjacency is what AoE punishes. Two units on touching hexes can be hit by the same ability. Two units three hexes apart essentially cannot.
The default shape
Start every game here and deviate for a reason. Tanks across the front, carry in a back corner, everything else filling the middle.
Two refinements that apply almost always. Put your tankiest unit in the middle, not on the flank — enemy melee walks toward the nearest target and the middle is nearest to most of the board, so your best tank absorbs the most attention. And keep your two damage units apart, ideally opposite corners. If a single ability can hit both your carries, you have built a board that loses to one unit.
What that looks like in a real board
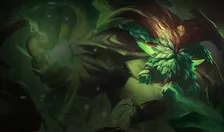
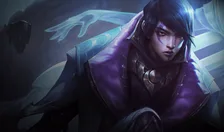
Elderwood Aphelios, the most-played board with full position data right now — 4.08 average across 532k games. These are the positions winning players actually used, not a recommendation:




Counter-positioning
The default is a starting point. The actual skill is changing it based on the specific board you're about to fight — which you can see, for free, before every round.
Against assassins and divers
Units that jump to your backline target the furthest or most isolated unit. A lone carry in a corner is precisely the invitation. The counter is counter-intuitive: clump everything into one side. The assassin arrives next to your frontline instead of behind it.
Against area damage
The opposite problem. If the enemy has a big centred ability, adjacency is what kills you. Spread out: two hexes of separation between anything you can't afford to lose together.
Against hooks and single-target pulls
Units that yank one target out of your line pick the closest one on their side of the board. So the fix is to control which unit is closest: put a tank you don't mind losing on the side they'll pull from, and keep the carry on the far edge.
The threats worth answering
You cannot position against everything, and trying to produces a board that's wrong against all of it. Pick the one or two threats that actually kill you.
| What you see on their board | What it does | Your answer |
|---|---|---|
| A fed assassin or diver | Deletes your carry in the first two seconds | Clump one flank; bait the far corner |
| A big centred AoE caster | Hits three or four units at once | Spread; separate your carries |
| A hook or pull | Removes one unit from the fight | Offer a tank on that side |
| Long-range backline sniping | Targets your furthest or lowest-health unit | Move the carry off the obvious hex; break your own pattern |
| Nothing in particular | Straight stat check | Default shape; spend the time on your items instead |
Change your carry's hex regularly, even by one. Your opponents scout you too, and the player who leaves their carry in the bottom-left corner every round is telling seven people exactly where to aim. One hex of movement costs nothing and invalidates their plan.
Round by round
A workable routine, which takes about ten seconds once it's habit:
Look at who you're fighting
The matchup is shown at the start of the planning phase. Scout that specific board first, before you touch the shop.
Find their biggest threat
Not their best unit — the one most likely to kill your carry. Usually an assassin, a big AoE, or whatever has three items on it.
Move one or two units
Not the whole board. Positioning is adjustments, not rebuilds. Usually it's the carry and one tank.
Reposition again after any rolldown
You just changed half your board. The positions are from two rounds ago and are now wrong. This is the most commonly skipped step in the game.
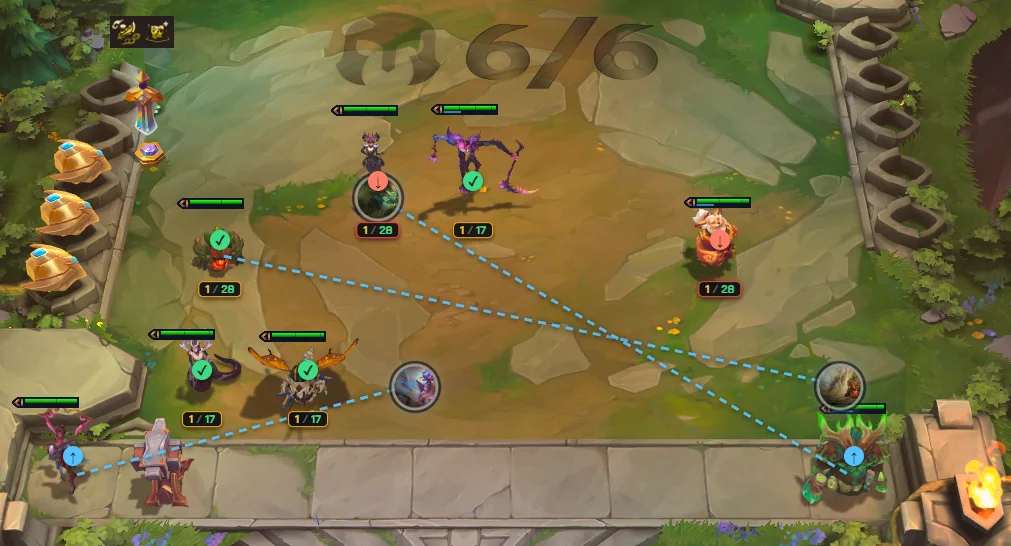
Every comp page shows its recorded board layout, taken from games that finished well. Use those as your starting shape and the rules above to adjust — the data tells you where units usually go, and only you can see who you're fighting.
Positioning is reactive, and reacting needs information. The next chapter is about going and getting it: playing the lobby, not the board.